

Chestnuts!
Well there’s no denying we’re into the holiday season. One of the things I love most this time of year is the FOOD (c’mon, are you that surprised?)! For me a big part of that is seasonal ingredients. As I mentioned in my 100th post, one of my favorite things to cook with is chestnuts! They usually appear in the stores a few weeks before Thanksgiving and are here until after Christmas. When I bring home the first batch (of many) from the grocery store my husband just chuckles. He knows that I am going to try them in anything I can think of because I love them so much!
Chestnuts really are a beautiful ingredient. They are unlike any nut you’ve ever had in several ways: they are more starchy than fatty, aren’t really good raw, and have a soft texture. Chestnuts also have an amazing aroma when roasted and have a slightly sweet and creamy taste. It sounds strange, but their texture when roasted reminds me a little bit of a baked potato.
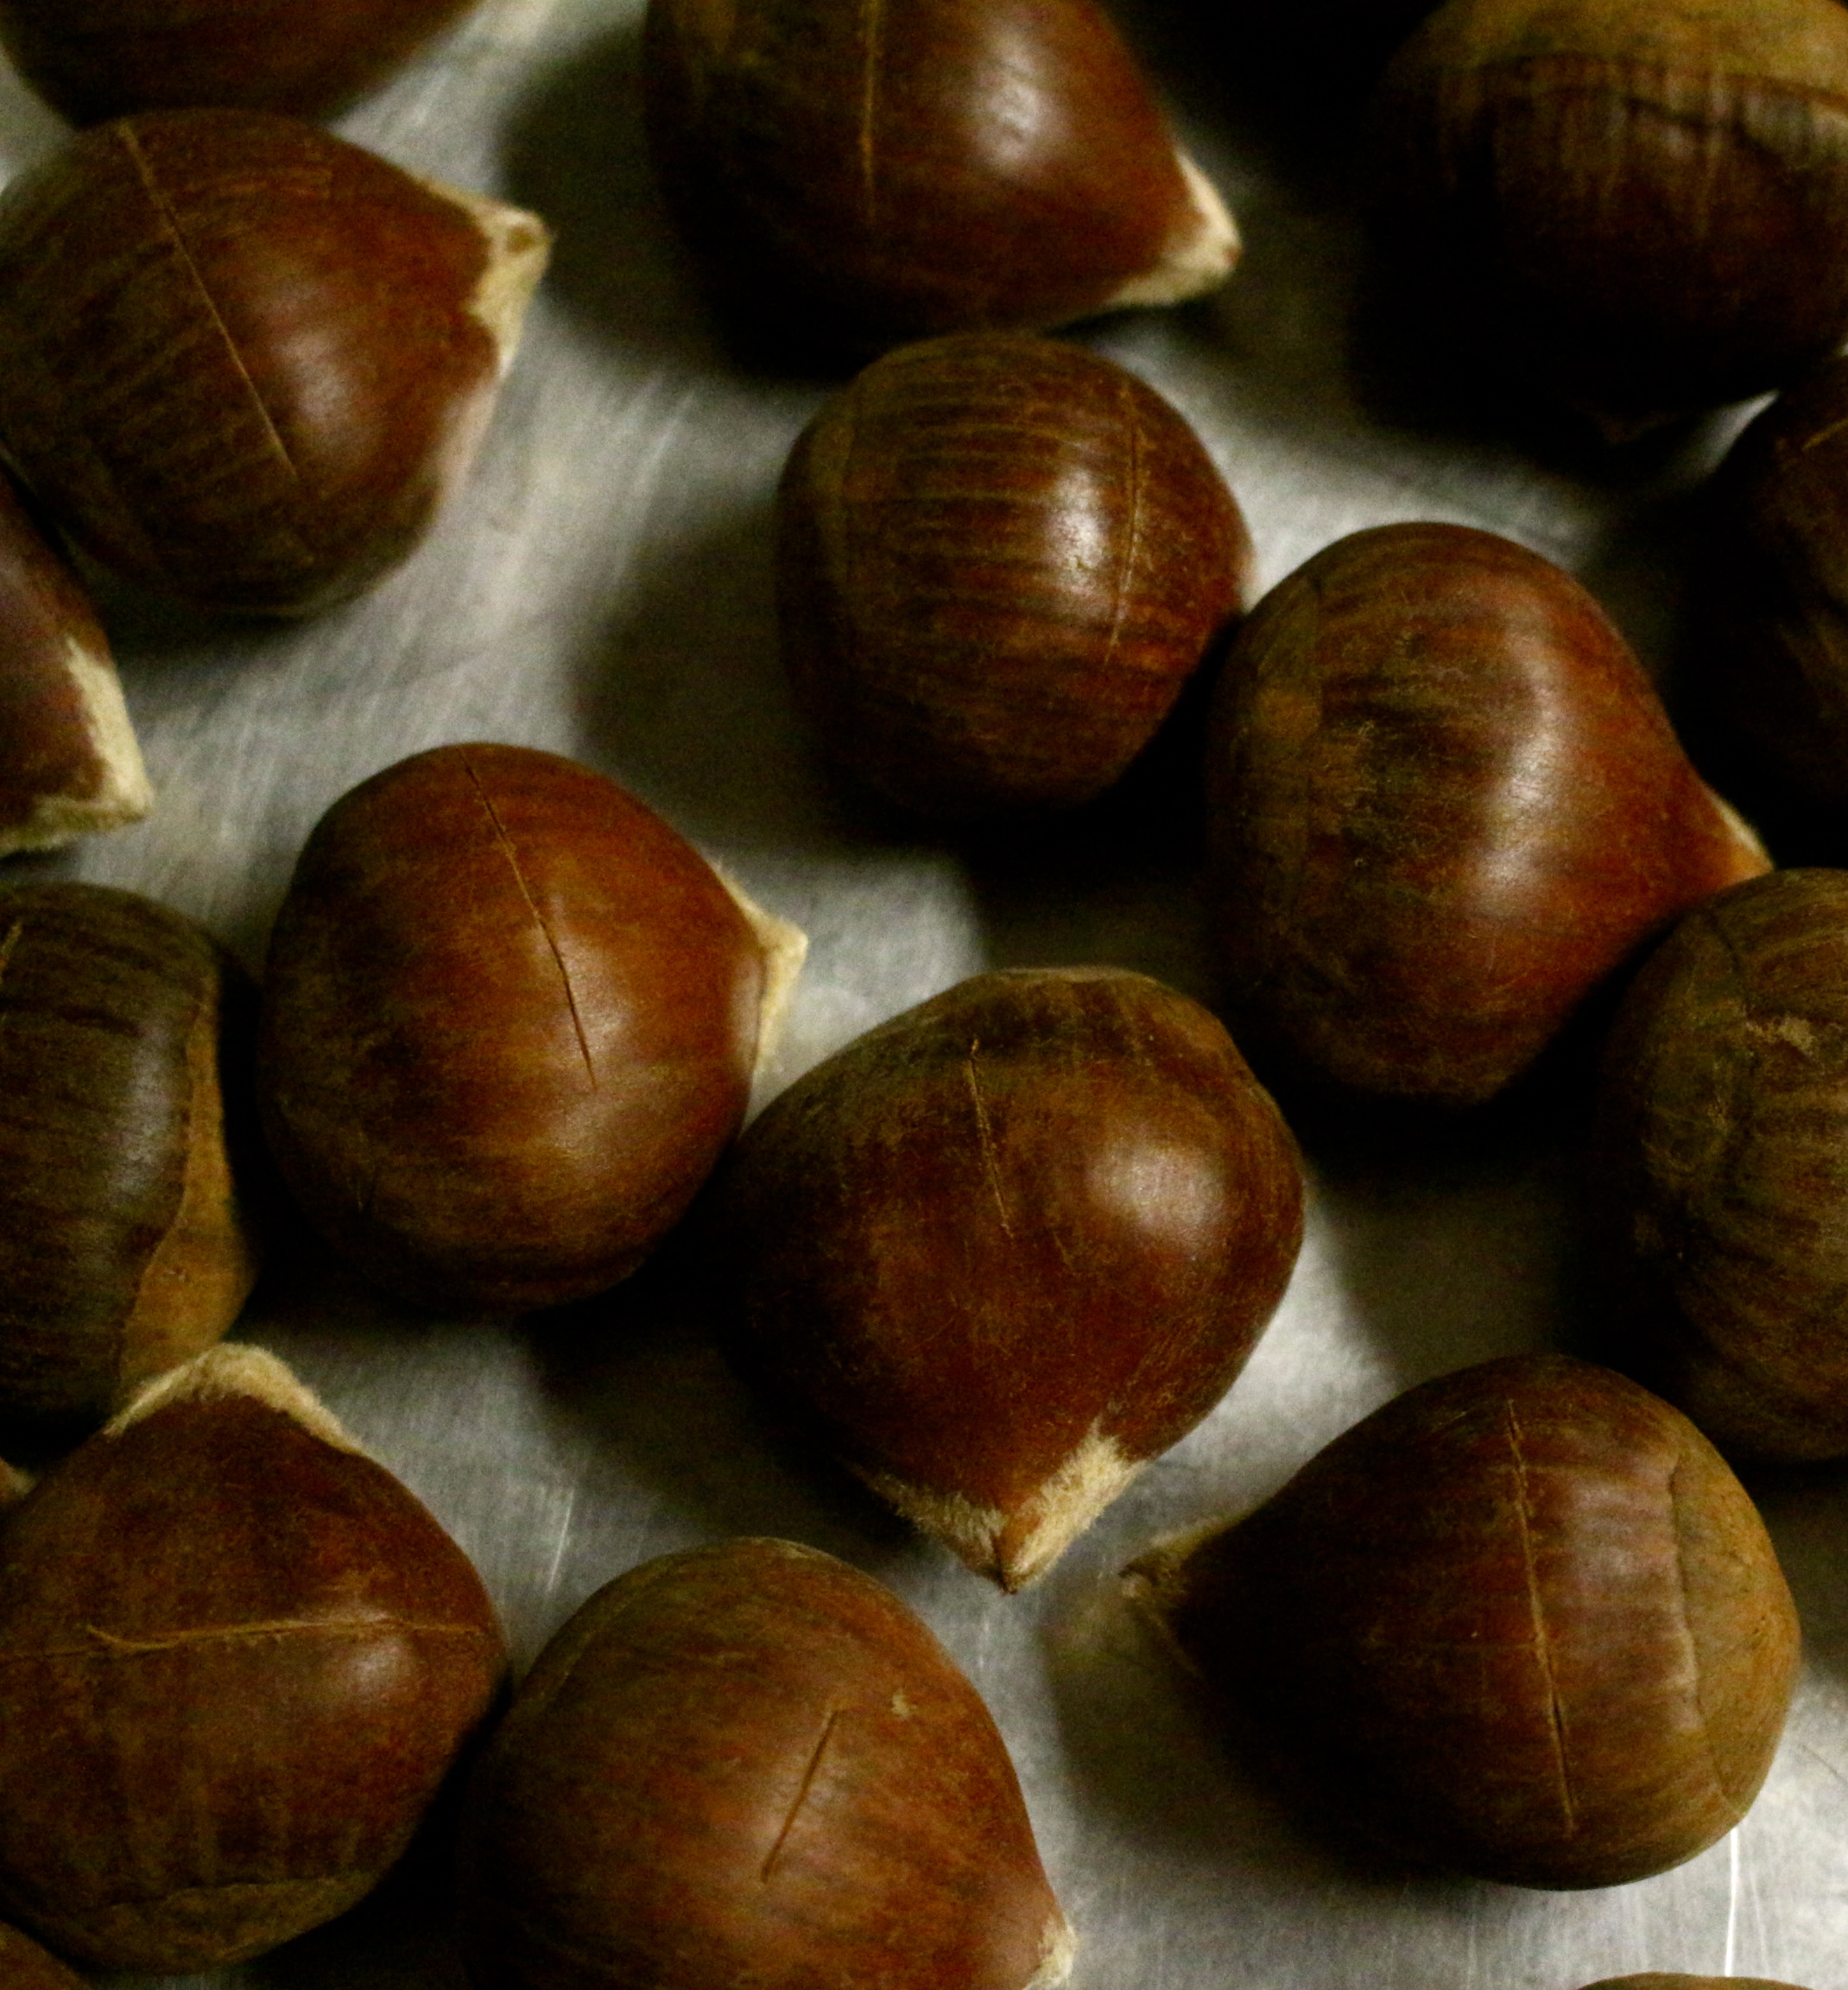
Today I am going share with you a few tips about how to peel them, store them, pick them out and most importantly how to use them. First things first, where you can find chestnuts. You should be able to find fresh ones in the produce section of your local grocery store, if you have an Asian foods market in your area, even better! The most common chestnut is native to China. I have found that chestnuts are usually $2/pound cheaper at Asian food stores and tend to be higher quality. I should say now that this post will be all about fresh chestnuts. I’ve seen chestnuts that are shelled and roasted in jars and I’ll admit I’ve never tried them. While they make things more convenient, they are also a lot pricier and aren’t as fresh. When picking out your chestnuts, look for ones that are fairly firm. You don’t want nuts that have too much give when you press them between your fingers. If they are soft, that means they are really ripe. While they may be sweet, it also means they are more likely to be moldy on the inside (no bueno). You should also look for chestnuts with more weight and avoid any nuts that already have cracks in the shell.


Once you have these babies home, there’s a little more preparation required before you can eat them. The step is roasting, this actually has a dual purpose: it will soften the chestnuts, which makes them more palatable and it will help get the shell and inner skin (called the pellicle) off. I’ve tried several ways to easily peel them and I think I’ve found what works best for me. If you’ve found other methods, I’d love to hear about them in the comments! This is definitely the toughest part about loving chestnuts. I started by roasting the nuts in a 450° oven based on the recommendation of a certain domestic goddess (is anyone else excited that her and Snoop Dogg have a show together!). I couldn’t get the nuts roasted long enough without them exploding in the oven first and I don’t need that much excitement in my life! After several tries, it seemed that the best way to get the shell and inner skin off was to roast them in a 350° oven. I’ll walk you through all the steps.
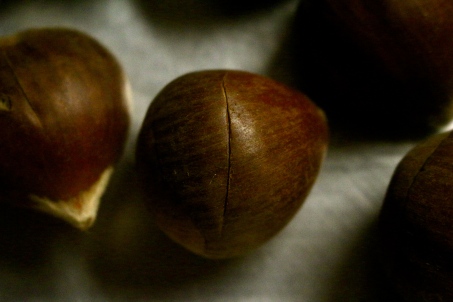
First preheat the oven. Then put a chestnut with the flat side down on a cutting board and cut a slit in the center from side to side with a sharp knife. Make sure you pierce the shell and try to avoid cutting through the nut. The most important thing is piercing the shell, so that air can escape and the meat will puff out a little which makes removing the skin easier. Repeat this with all of your chestnuts and spread them out on a cookie sheet.
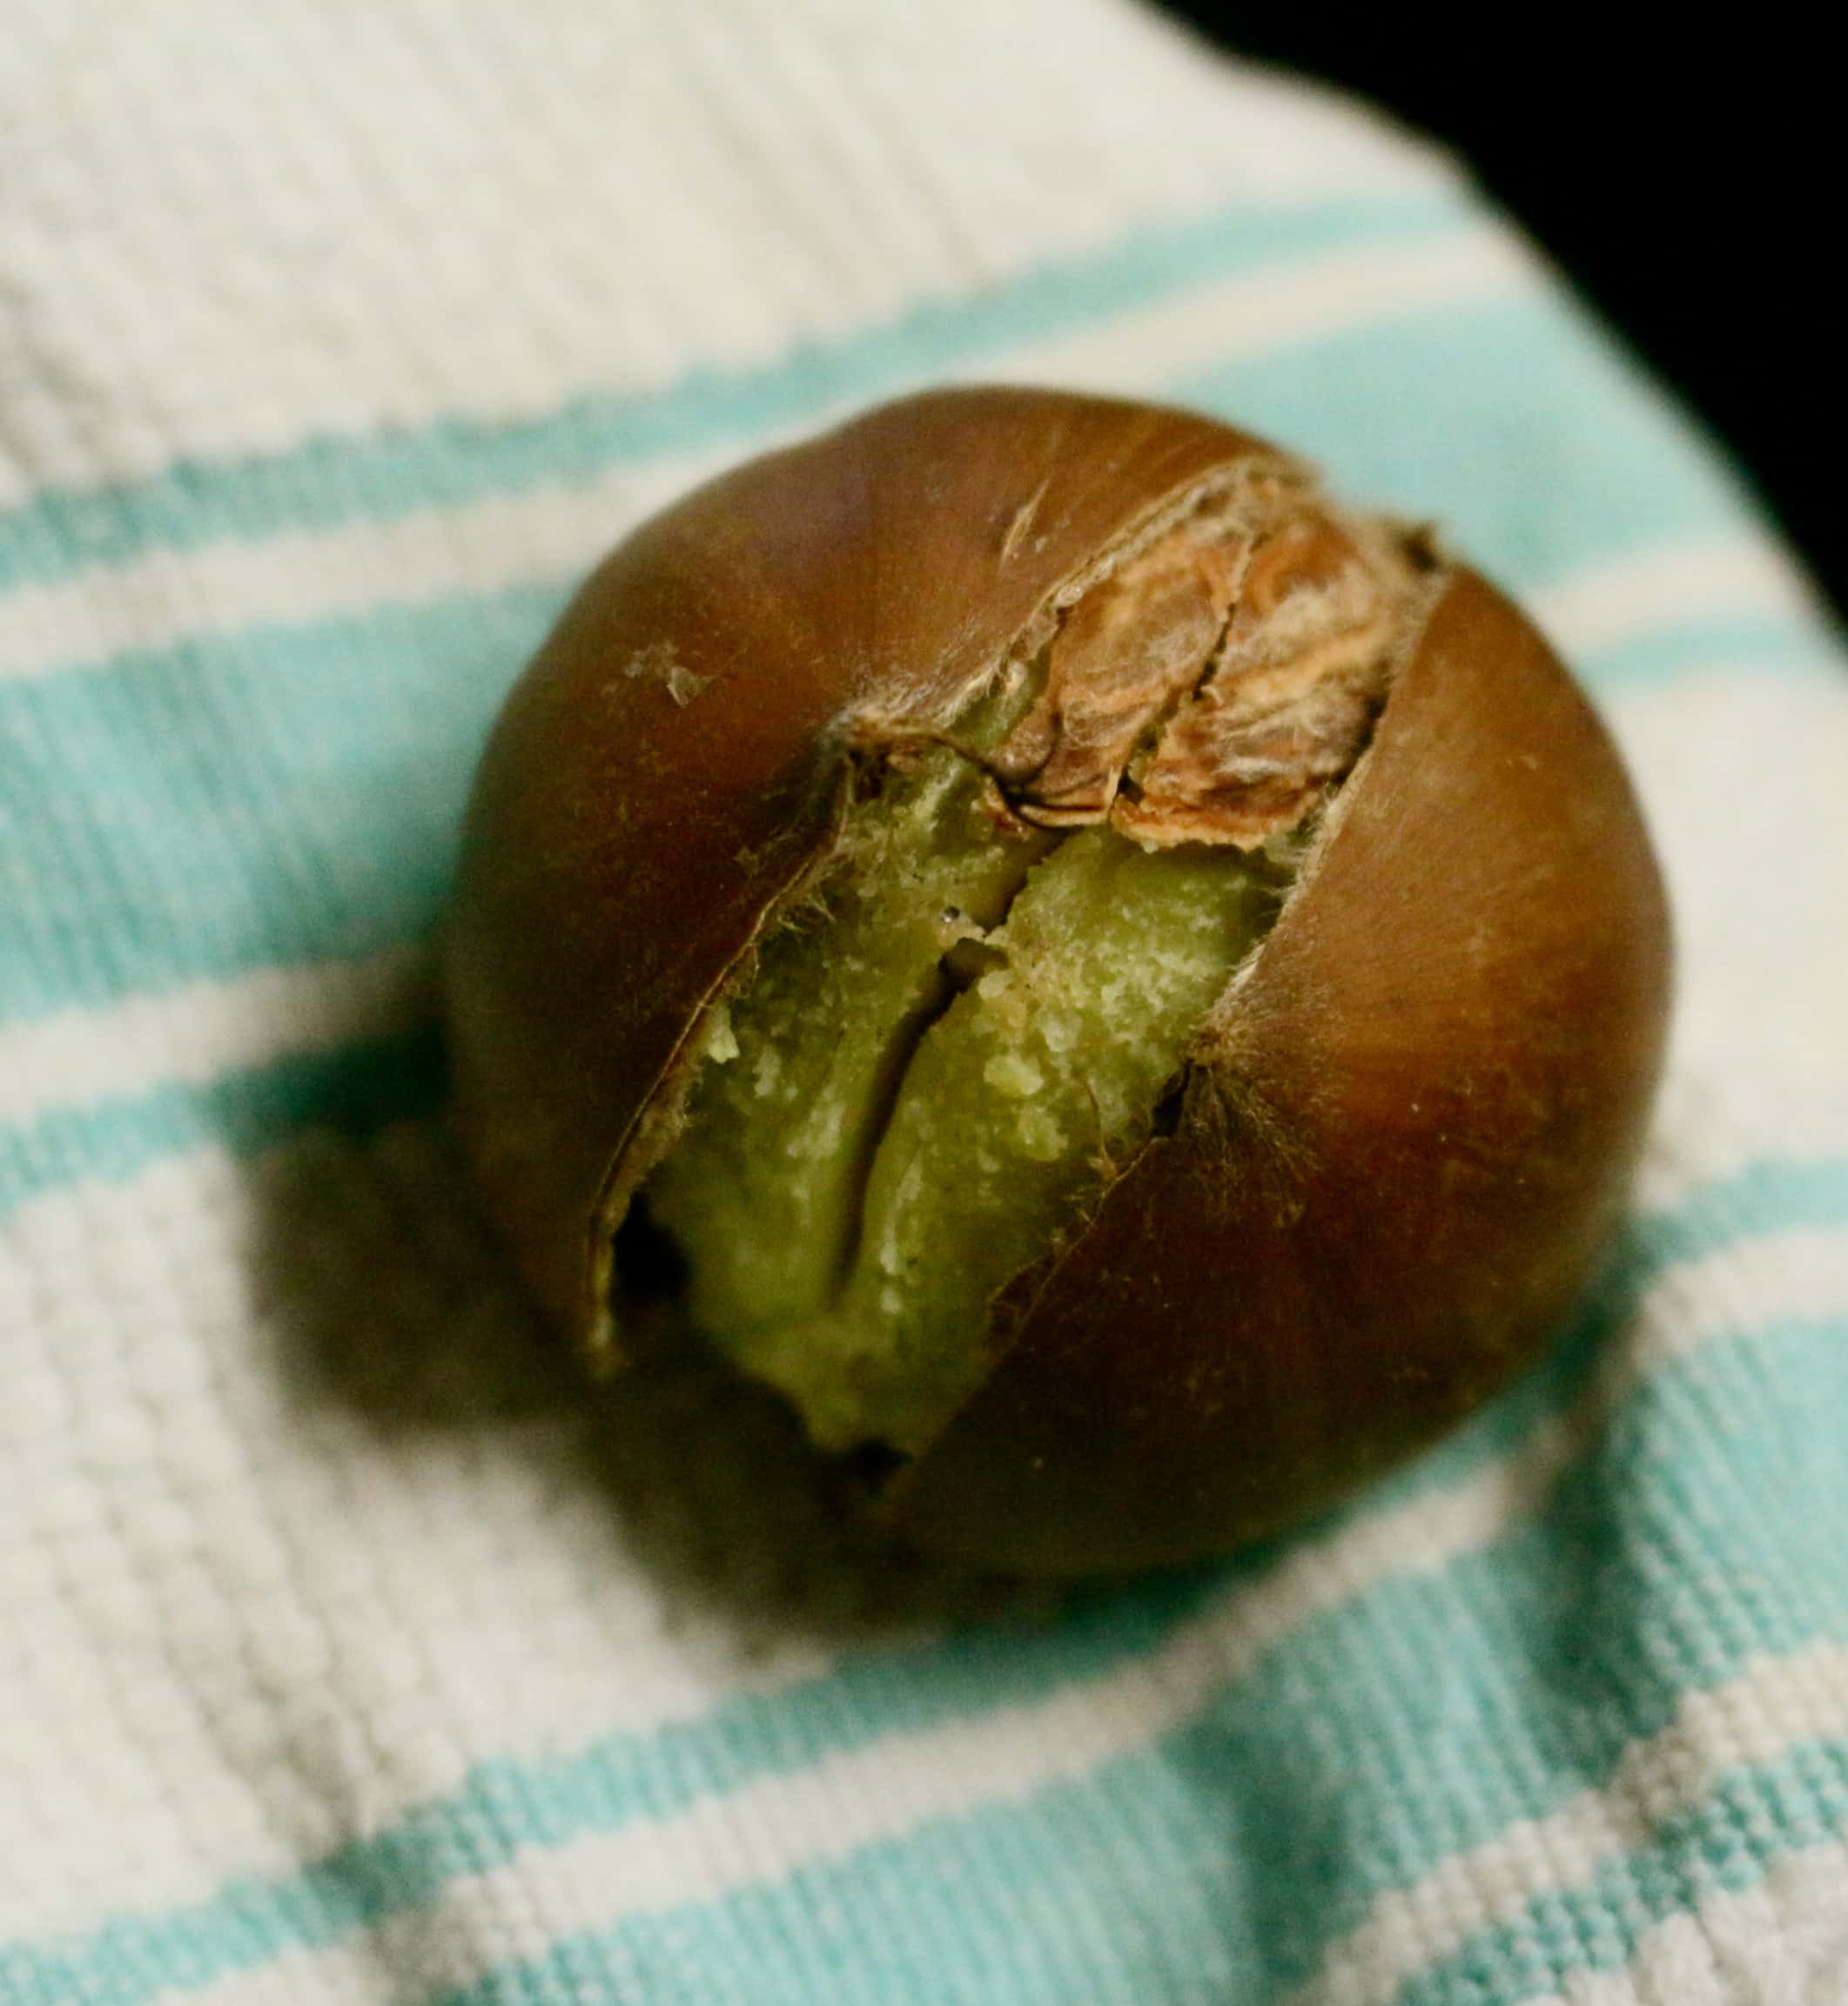
Bake for about 30 minutes, or until they’ve split open a little and the inner meat is fork tender.

Take out the chestnuts and wrap them in a kitchen towel to cool slightly.

Once they are cool enough to handle get your shell on (by which I mean get their shells off!)! Press the chestnut slightly to widen the opening and slip off the shell and inner skin. If the skin doesn’t come off easily, you may need to peel it with a knife. Discard any that are moldy.

Now they are ready to eat, or use in cooking/baking! I know this may seem like a lot of work, but trust me these beauties are totally worth it. If you’re not going to use them right away, put them in the fridge in a covered container. Make sure to use them within 3 days of shelling.

Other than just eating them as is, you may be wondering what to do with them. I’ll be sharing a few chestnut recipes in the upcoming weeks (starting on Monday), but here are some suggestions in the meantime:
- Sprinkle over ice cream
- Add them to pancake batter
- Put them in baked goods- they would be wonderful in banana bread, oatmeal cookies or anything with chocolate!
- Add to stuffing
- Add to a chutney of figs or apple and serve over chicken, pork or cheese
- Puree with honey and cream cheese to make a spread!
As you can see, the possibilities are endless! If you’re never had chestnuts, I hope I’ve convinced you to try them. If you’ve already had them, I’d love to hear how you use them!
Stay tuned Monday for a delicious cookie recipe using chestnuts!