

Blackberry Jam
Well guys, this is it, my last blackberry post….for awhile, at least.  It’s been a bountiful blackberry season and I’m lucky to have a husband willing to pick so many! Since I like blackberries so much, I make and can blackberry jam so I can enjoy it all year ’round. Not to mention, jars of homemade jam make great gifts!
I know that canning can seem intimidating, but I’m here to break it down for you. There are a few tools you’ll need. Don’t worry most of them are 1-time purchases. Some, absolutely, are must haves and then there are other “luxuries” that make the whole process a lot easier. This is the season to buy canning supplies. I’ve seen jars and other supplies at my local grocery store, Target, some hardware stores, and the local fruit market. Some places will even have kits you can buy, but if all else fails, everything is available online.

Necessities:
- Deep pot- I have this one and it works great
- Jars and lids
Luxuries:
Other than the jars, once you have your supplies you won’t need to buy them again. You’re looking at a $30-$50 investment for canning the rest of your life!

Gettin ready!
Ok, the first thing is to sanitize the jars. We don’t want to risk any bacteria growing in them once they are sealed. Some dishwashers have a sanitize setting so can load a bunch of the jars and lids into your dishwasher and use that. The other option is to boil your jars and lids, which is what I do, for about 10 minutes. This is where the canning rack comes in handy because it makes it easier to lower the jars into the water and lift them out.
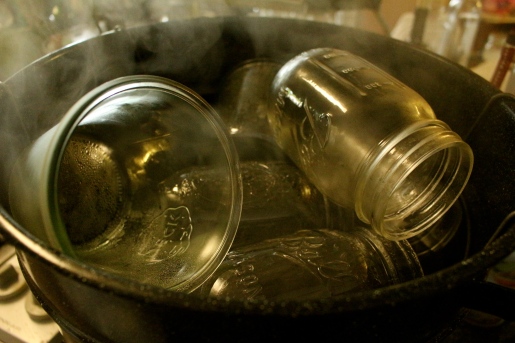
I came up with a “hack” for getting the lids out of the water. I bought one of these lid wands last year for a couple of bucks, but found it useless (unless you have go go Gadget arms, which I do not). Instead, I lay out a cheesecloth or large dishtowel and put all of my lids and rings onto it. Then I take the diagonal ends and tie them into knots. Now I have a little pouch I can put in the boiling water. If you have a little mesh bag, you could also use that. Then you just take the whole thing out and unwrap your sanitized lids (you will have to try them off a bit).


The jar lifter is useful here also to get the hot jars completely out of the pot and onto the counter.

Now onto the actual jam! Start by mashing up your blackberries. I used a potato masher, but you would also use a fork.  I mash mine up pretty fine because I don’t like a jam that’s too chunky. If you do prefer a jam, just mash the berries less. Put your berries into a heavy-bottomed large pot with pectin. The pectin is what is going to make our berries turn into jam because it helps thicken the juices. You want a pot that has sides at least 8″ high because this mixture will bubble up and you do not want it boiling over. I like the Sure-Jell brand of pectin because I feel like it has firmed up the best for me, but use whatever you like best (or can find). Make sure to check the directions of your pectin to ensure you use enough sugar (this is why I’ve put a range in the recipe).
Cook the berries and pectin over medium high heat until it boils. Then gradually stir in the sugar. Let it come to a boil and simmer for a few minutes until it’s thickened slightly.


Now we’re ready to fill our jars. I lay mine out on dishtowels because I know it’s inevitable that I’ll spill some jam when I’m filling them. This is also where the funnel comes in handy. If using a funnel, put it on top of the jar and ladle the hot jam into it, leaving about 1/4″ of space at the top. I fill all of my jars at once and then put all of the lids on, but do whatever works best for you. Once all of the jars are filled, clean up the lips and top of the inside with a clean cloth or paper towel. We want the part of the jars not filled with jam clean. Screw the lids on all of the jars tightly. This recipe should make about 10-12 half pint jars.


Now comes the actual canning part. Get your water back up to simmering and lower your filled jars in. Again, the canning rack comes in handy here. Boil the jars for 10 minutes. Next carefully take them out (with the jar lifter if you have it) and let them cool. As they cool, you should hear the lids make a popping noise. This means they are now sealed. Inspect each jar to ensure the lid is flat and the canning actually worked. If there is still a bump in the lid, the jar needs to be boiled longer to ensure it seals.
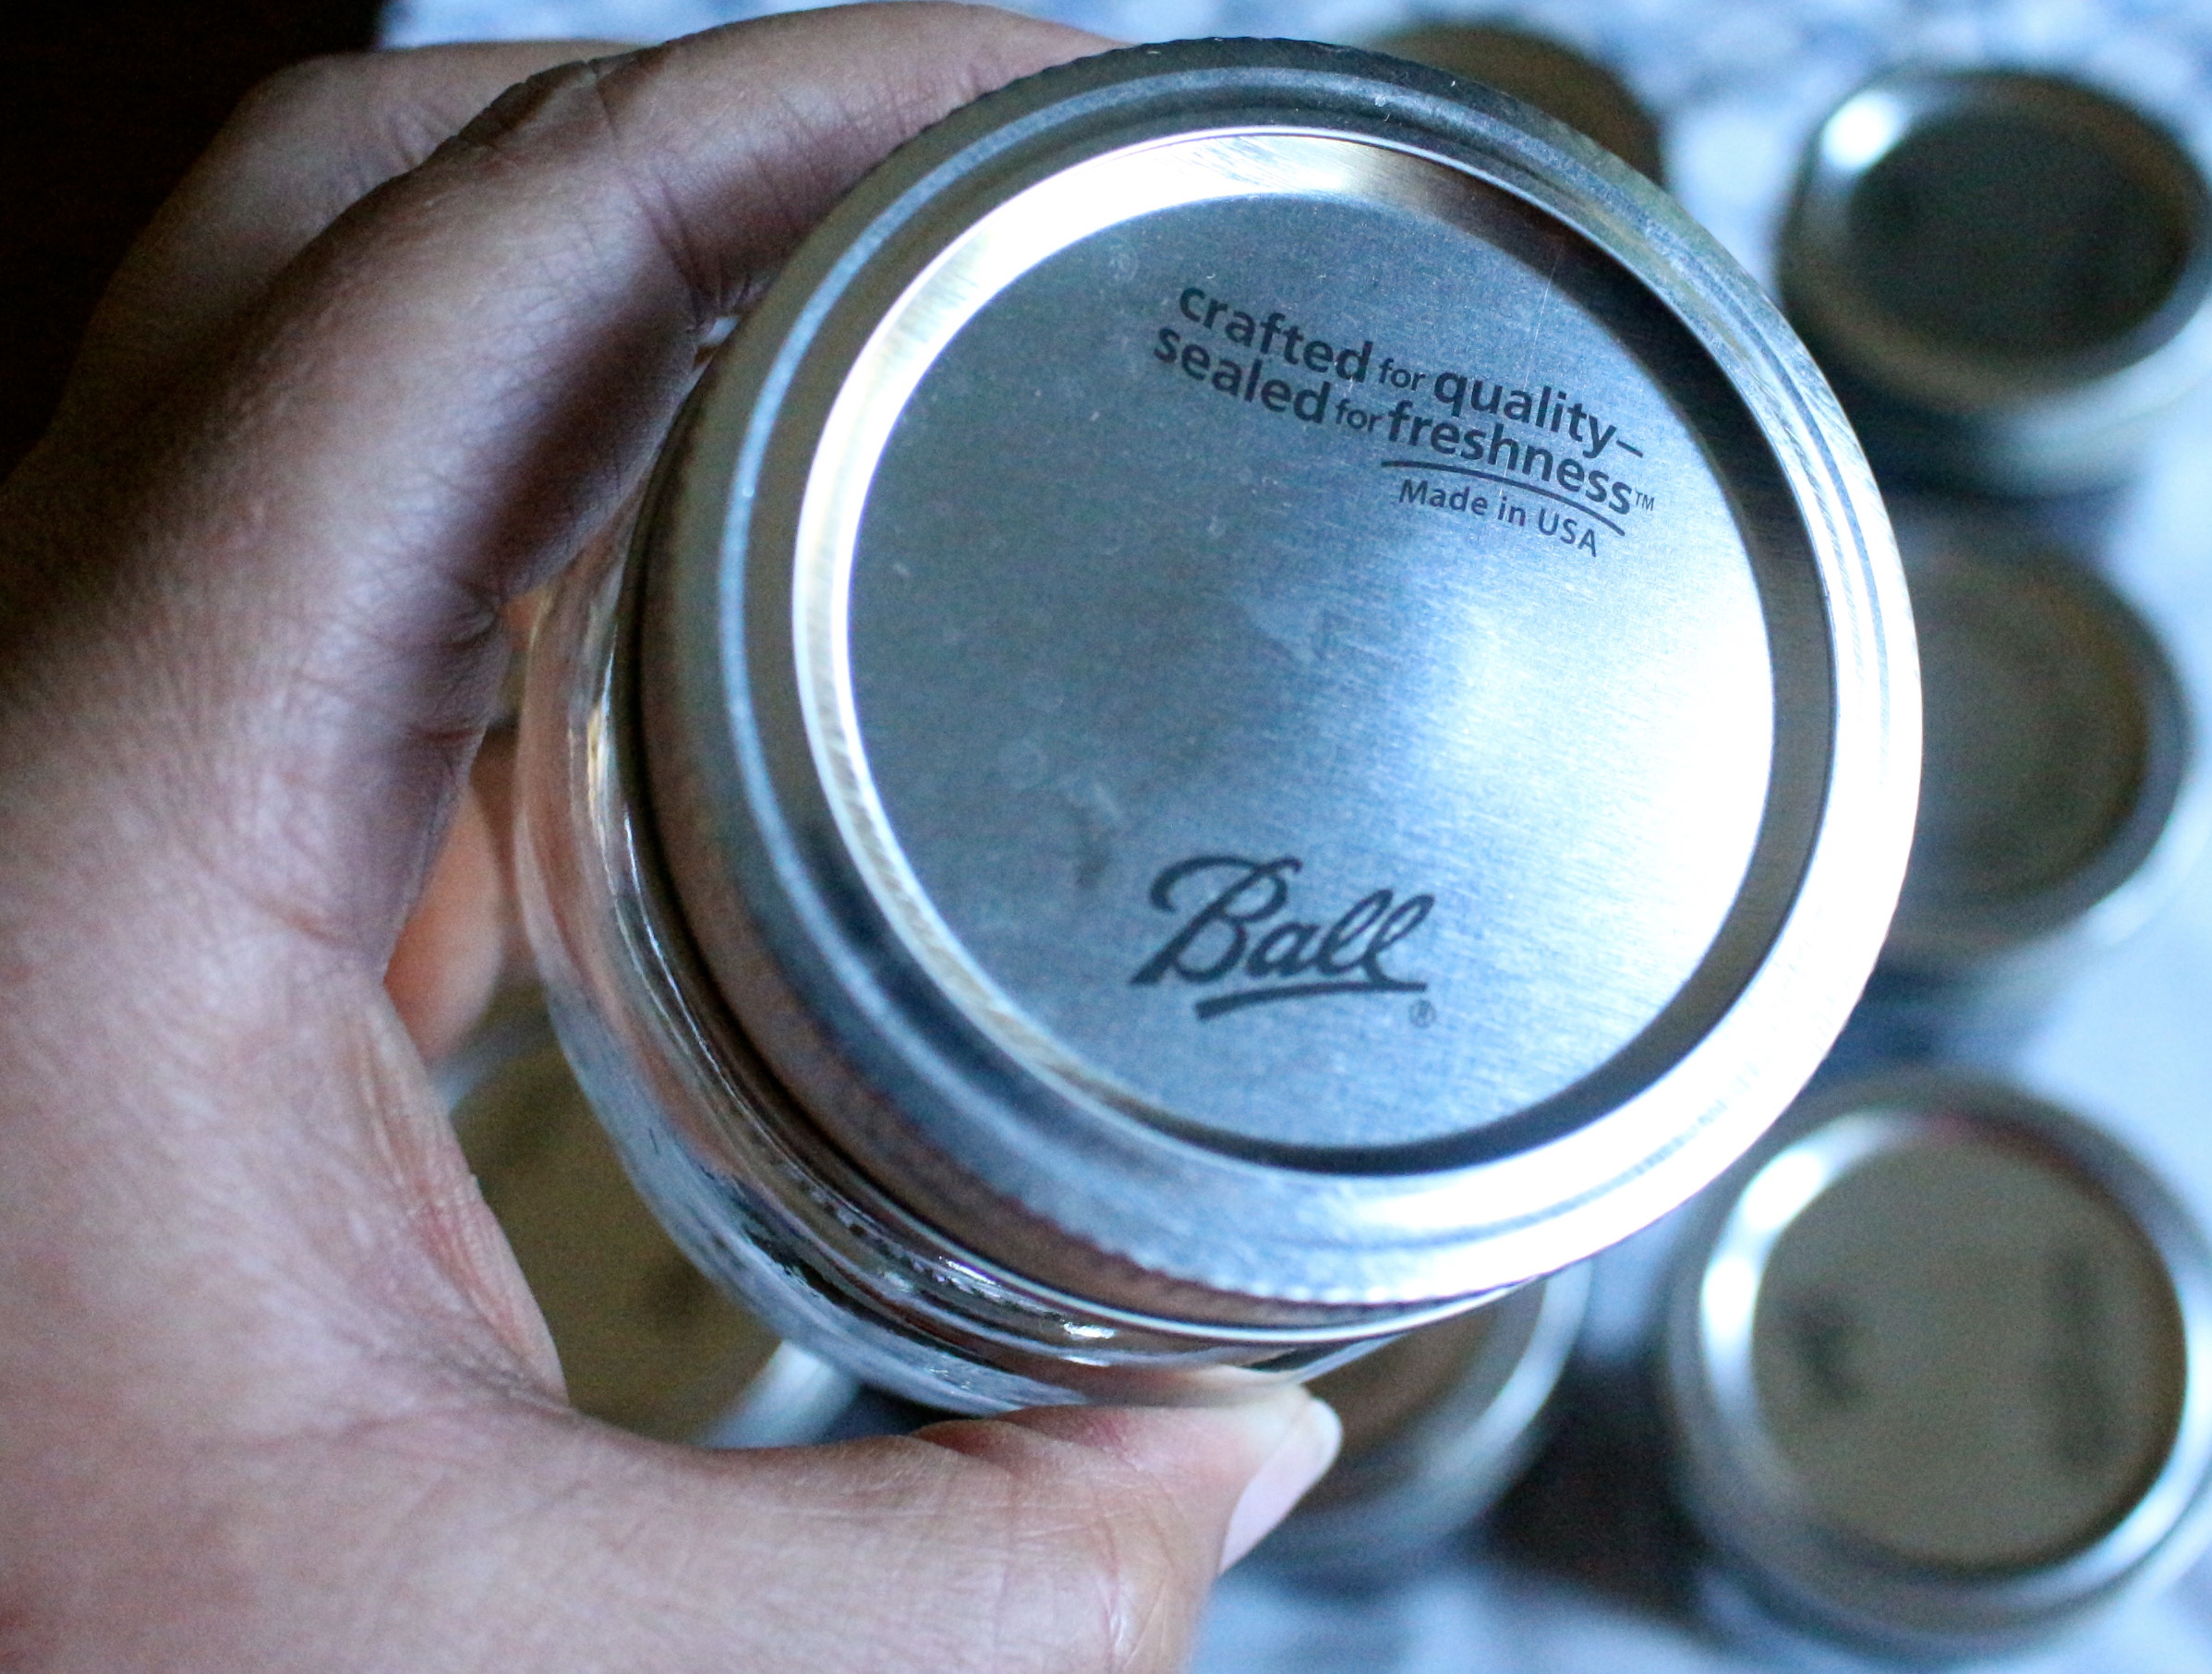
Can you see the slight bump?
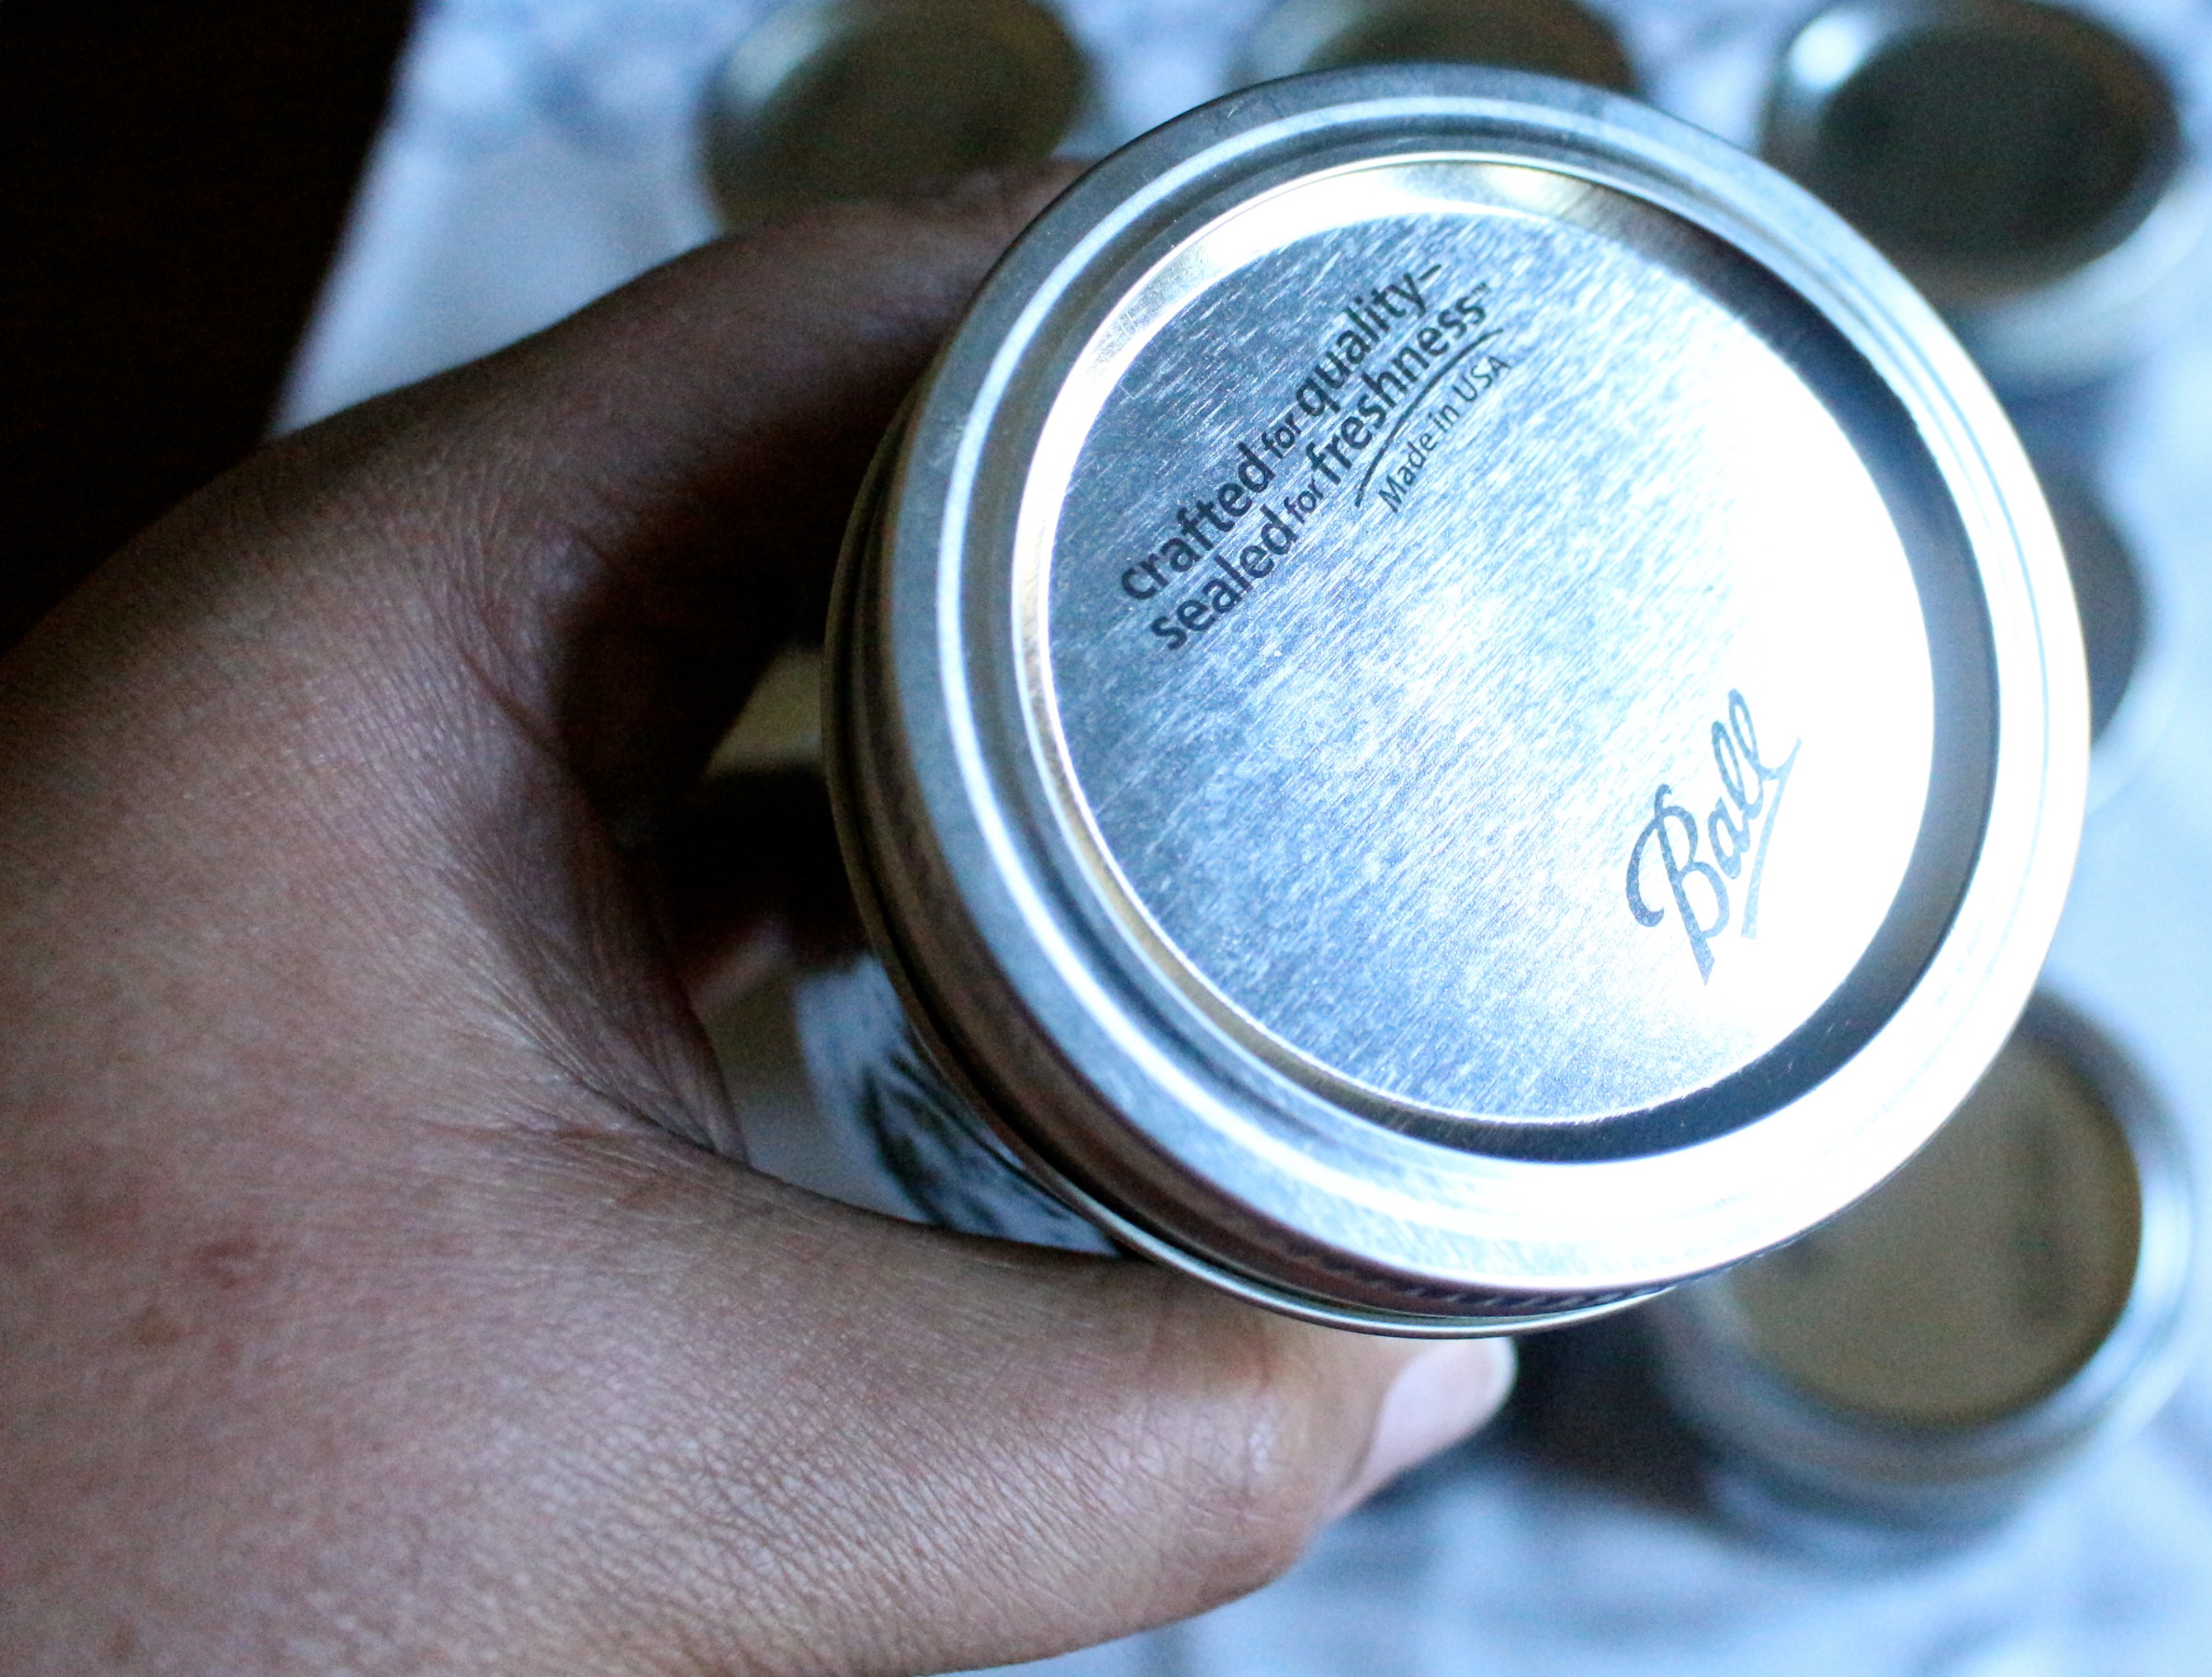
This one is done, since the lid is completely flat (no bump).
You can also label your jars once they are cool. This is especially useful if you’re like me and make other sauces. Things can start to look similar so it’s helpful to know what’s in the jar and when you made it. 🙂

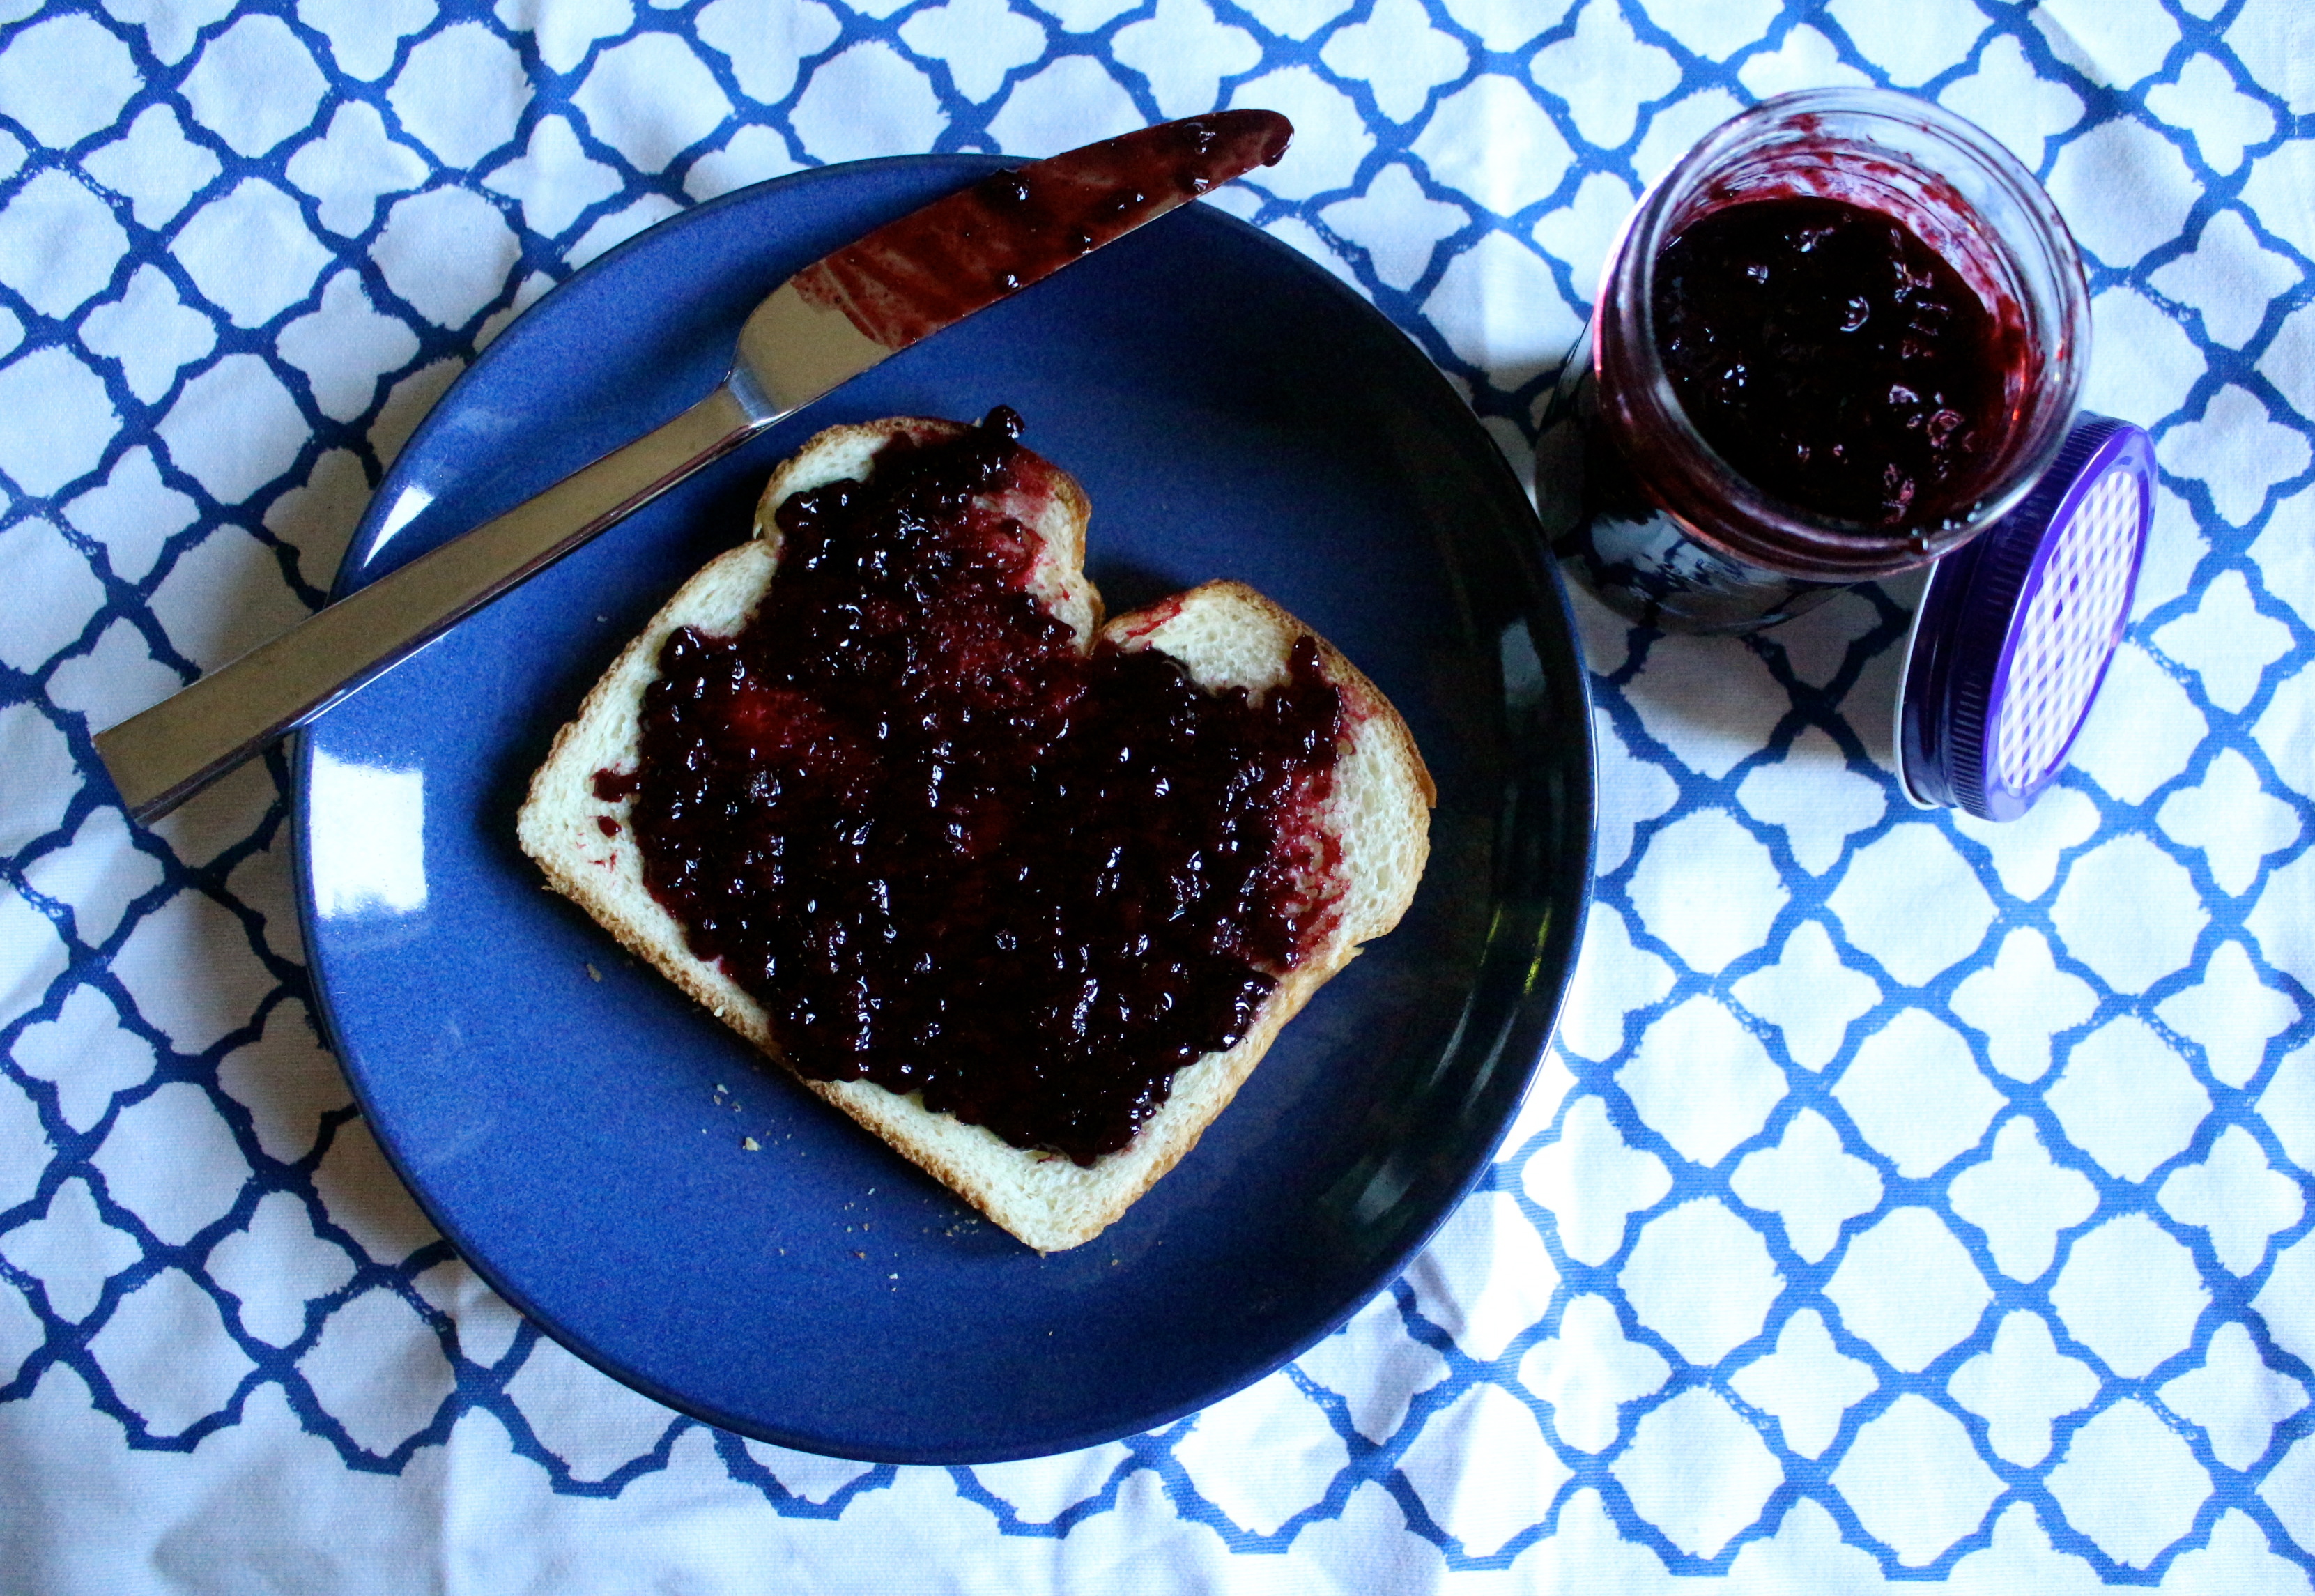
And remember, jam isn’t just to spread on toast or scones. Here are some other ways I’ve used blackberry jam:
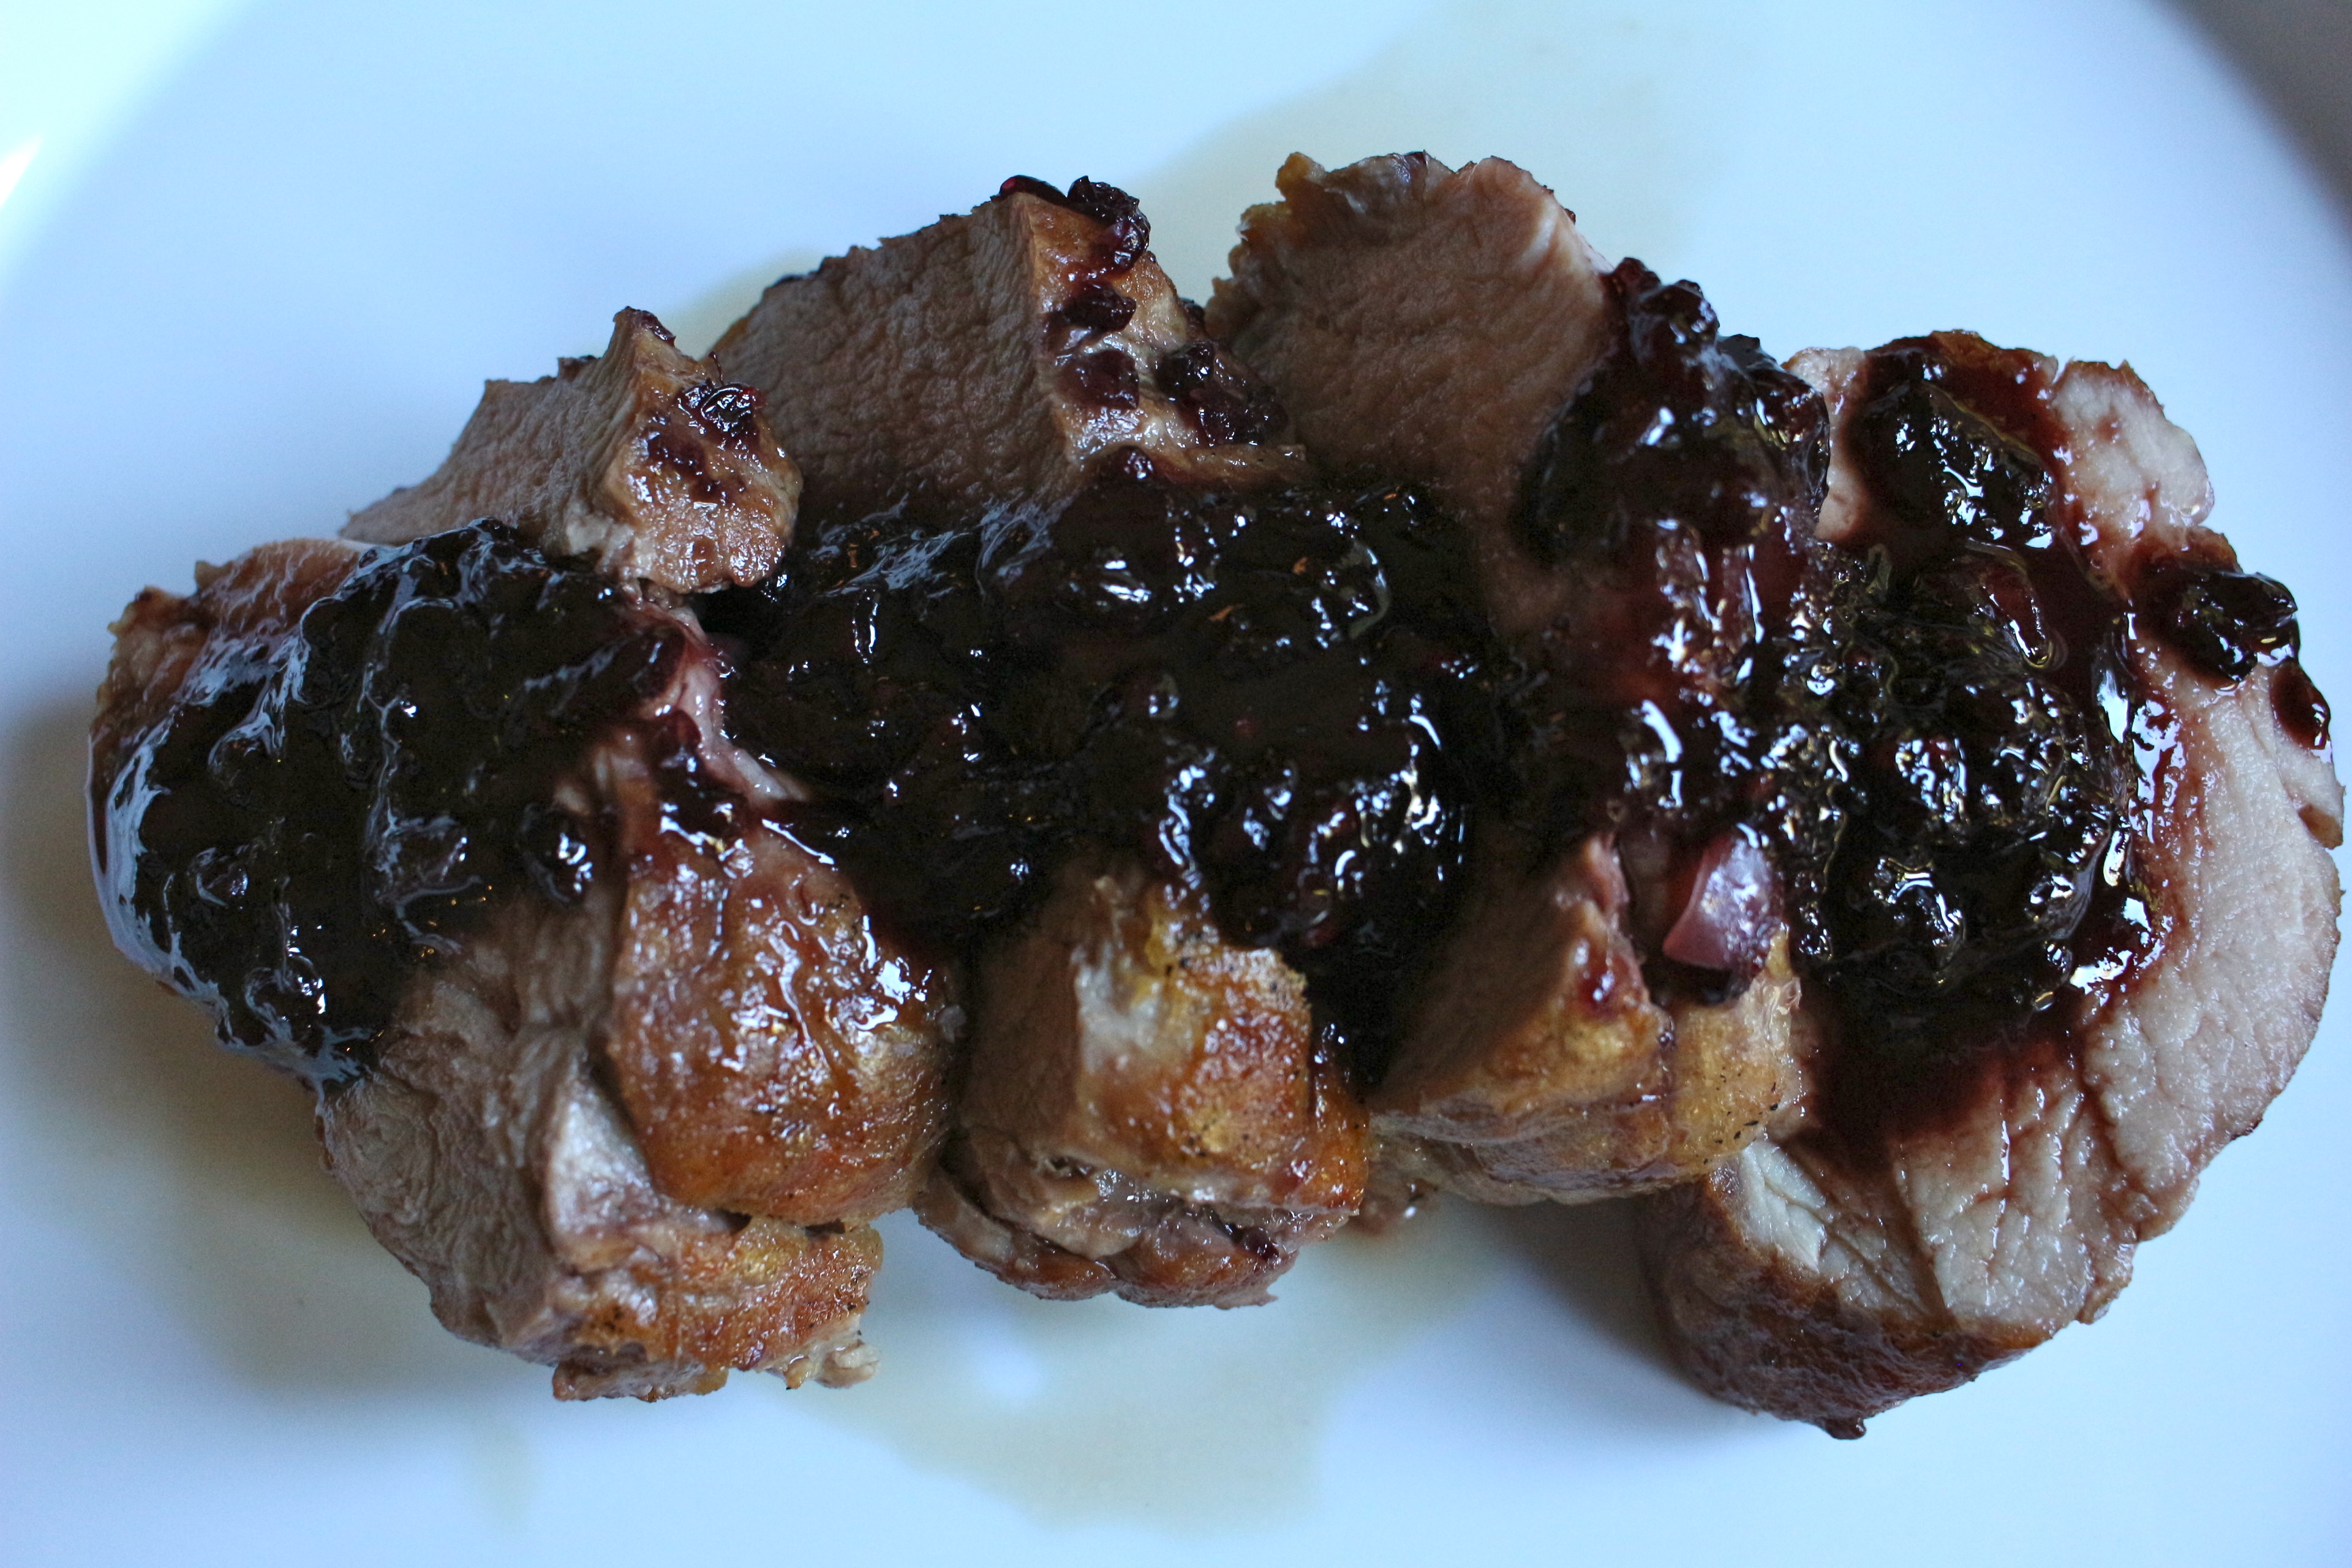
Blackberry Glazed Pork Tenderloin
Blackberry and Lemon Macaroons
Happy canning!
 Save Recipe
Ingredients
- 7 cups mashed blackberries
- 4-5 cups granulated sugar
- 1 1.75 ounce box pectin
Instructions
- Sanitize the jars and lids using your dishwasher or by boiling them. If boiling them, do that for 10 minutes.
- Mash the blackberries with a fork or potato masher.
- Put the berries into a heavy-bottomed large pot that has sides at least 8" high, with pectin.
- Make sure to check the directions of your pectin to ensure you use enough sugar.
- Cook the berries and pectin over medium high heat until it boils. Then gradually stir in the sugar.
- Let it come to a boil and simmer for a few minutes until it's thickened slightly.
- Fill all of the jars at once and put the lids on.
- Clean the lips and top of the inside with a clean cloth or paper towel. We want the part of the jars not filled with jam clean.
- Screw the lids on all of the jars tightly.
- This recipe should make about 10-12 half pint jars.
- Get your water back up to simmering and lower the filled jars in.
- Boil for 10 minutes.
- Carefully take them out (with the jar lifter if you have it) and let them cool.
- As they cool, you should hear the lids make a popping noise. This means they are now sealed. Inspect each jar to ensure the lid is flat and the canning actually worked. If there is still a bump in the lid, the jar needs to be boiled longer to ensure it seals.